VUSE ePOD FAQs
WHAT ARE THE PRODUCT SPECIFICATIONS ON THE EPOD?
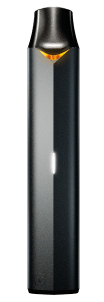
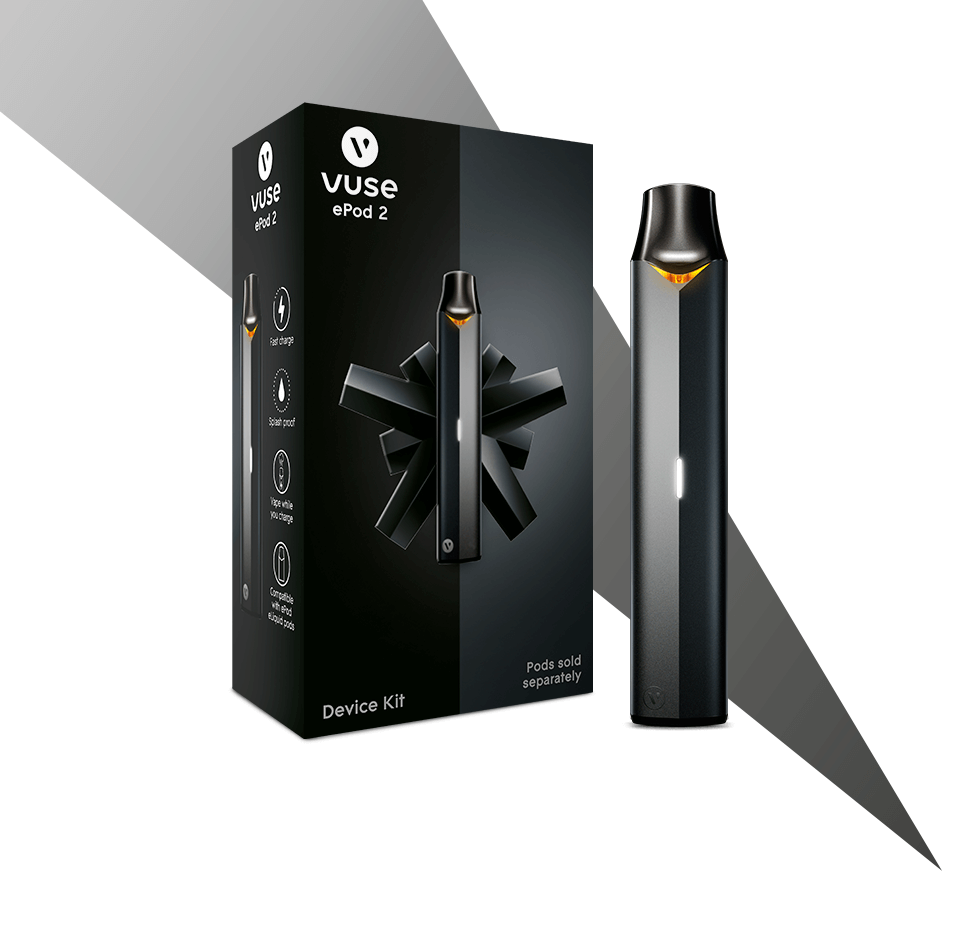
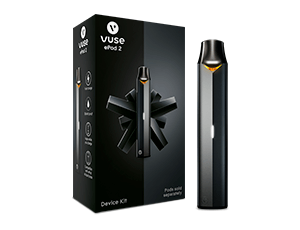
The Vuse ePod device has 6.5-watt battery power and 350mAh battery capacity.
WHEN SHOULD I CHANGE THE EPOD CARTRIDGE?
- When it stops producing vapour
- When the taste or quality of the vapour deteriorates
- When you see that the eLiquid in the cartridge is all gone
HOW CAN I TELL IF MY EPOD CARTRIDGE IS EMPTY?
You may notice a deterioration in taste quality when the cartridge is low on eLiquid. Once this happens, the green LED light will begin to flash on your inhale and will not product any vapour. When this happens, you can change the cartridge for a new one. You can also quickly check the eLiquid level by removing the cartridge.
THERE IS NO VAPOUR COMING FROM MY EPOD - WHAT CAN I DO?
It could be one of several safety, or battery-related, reasons:
- you may need to change your Vuse ePod cartridge
- you may need to charge the battery
- the Vuse ePod automatically shuts down if activated for more than five seconds at a time so try to inhale for a shorter duration
- dirt might be blocking the connection between the device and the cartridge. You can use a dry cloth/tissue to clean the connections inside the top of the battery
WHAT ARE NICOTINE SALTS?
Nicotine salts provide consumers of vaping products with nicotine absorption similar to tobacco product usage. It further provides the consumer a smoother experience than free base e-liquid. In tobacco leaves, nicotine is naturally present in the form of nicotine salts, as a stable molecule. Nicotine is extracted and purified and becomes a free base nicotine, which is what commonly exists in most e-liquids today.
WHAT FLAVOURS USE NICOTINE SALTS?
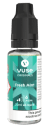
All flavours within the ePod range use nicotine salts and are available in a variety of strengths. Have a look at our range of Vuse flavour pods.
HOW DO I CHARGE THE EPOD?
To avoid risk of fire, injury and/or damage to your Vuse product or other property, only charge your Vuse device with the equipment provided in your kit, or with compatible charging accessories. E-cigarettes should NOT be charged using the USB ports of televisions, or other audio-visual equipment that is not specifically designed for the purposes of charging lithium ion cells. All Lithium ion batteries are consumables and have a limited lifespan. Dispose of your device if left un-used, without charging for period >2years. To extend the lifespan of your stored device, partially charge every 3 months.
WHAT DOES mAh MEAN?
The mAh stands for milliampere hour and indicates the electrical capacity of smaller batteries; how much charge the battery can provide.
HOW LONG DOES A VUSE DEVICE LAST FOR?
A well maintained and regularly used Vuse device is designed to last at least 12 months but will depend on your personal vaping behaviour. Vuse devices should last for about 300 full charge/discharge cycles, before battery efficiency deteriorates. This is common with all lithium-ion batteries but will depend on your personal vaping behaviour.
WHERE CAN I PURCHASE ACCESSORIES FOR MY VUSE DEVICE?
Have a look at our range of Vuse accessories.
CAN I TRUST VUSE QUALITY?
Here at Vuse we apply industry-leading product quality and consumer safety standards to all our devices and e-liquids. Read more about Vape Quality Matters.
HOW MANY PUFFS CAN I GET FROM ONE FLAVOUR POD?
Vuse flavour pods contain 1.9ml e-liquid and produce approximately 250 puffs* per cartridge.
*Based on laboratory testing of a full cartridge and may vary depending on usage behaviour.
WHAT DOES PUFF COUNT MEAN?
Puff count, for example “Up to 950 puffs per pod”, gives an indication of how many puffs a product will deliver, based on testing of the products at a set puff size. For non-rechargeable closed system products, such as Vuse Go, this is based on the number of puffs the product will deliver during its life, until the product no longer delivers a vapour. For rechargeable closed system products, such as Vuse ePod, this is based on the number of puffs the e-liquid [pod/cartridge] will deliver until the eliquid runs out.
HOW DO WE DETERMINE PUFF COUNT?
Puff count is determined by testing the product on a vaping aerosol collection machine (puffing engine). This machine is capable of carrying out 1000s of puffs that are identical. The puffing engine is programmed to puff the product according to set puffing parameters, one of these being the length of time for each puff (puff duration). The counting of the puffs stops at the point that the weight of aerosol produced per puff drops significantly. The final puff count is based on the average of the 5 samples tested.